Arduino: Part II: Tools

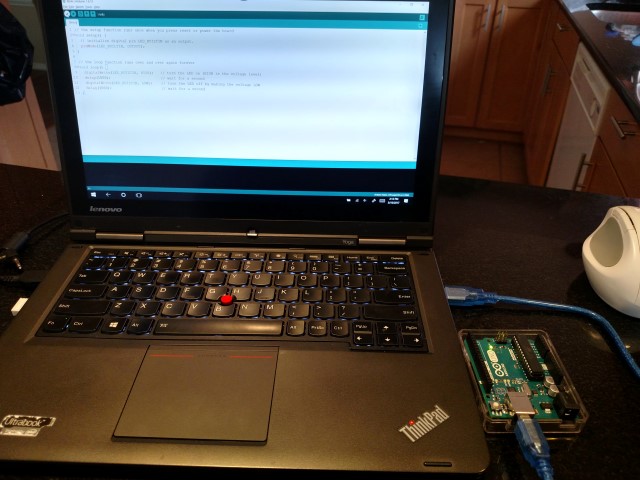
Code is usually involved in creating your Arduino project.  You are going to need a piece of software that will take your code, compile it, and then upload it to your Arduino.   This type of software is known as an “Integrated Development Environment (IDE).   Here are some free options:

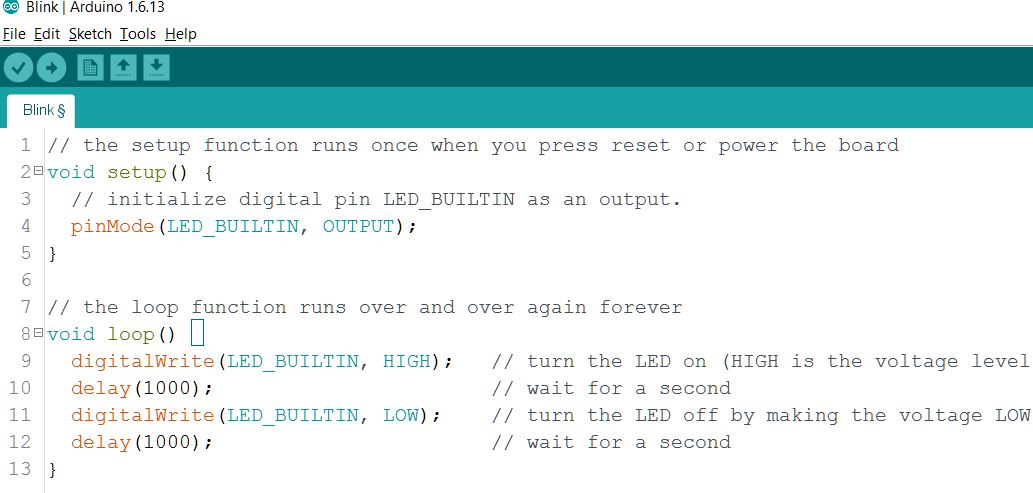
  1. Arduino IDE:   This is the most simple IDE and I recommend for absolute new starters.  Because the Arduino has more capability to support analog functionality, the most basic code will have one format only — 1)  a setup code block  and 2) a loop code block.  Not allot of room for error here.
  2. Atmel Studio:  I have not tried this software but it looks like it has potential.  I intend to try it at some point.
  3. Visual Studio Community Edition:  This is the reason I haven’t tried Atmel Studio.  I’ve been using Visual Studio most of my life and, despite my moaning, I love it.  Especially since it has gone open-source, it’s not limited just to core Microsoft languages.
  4. Visual Studio Code:  This is a nice light-weight edition from Microsoft.  It’s very simplistic, has functionality for many languages.  The only reason I don’t use it much is because I’m usually on more complex projects and haven’t had time for a learning curve.  Since it seems more lightweight, I predict I’ll be using it more in the future.
ARDUINO GOTCHA:
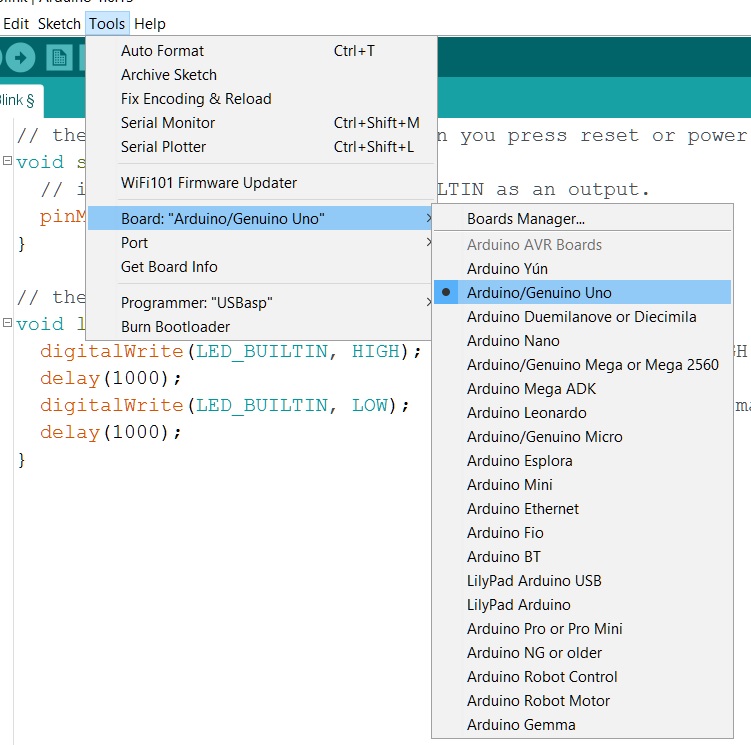
  • Arduino will frequently come out with new IDE builds.   If you go to their website, you will see that you can even get the latest hourly builds.  Don’t do this.  Whatever lesson you are following or project you have going is not going to contain builds from the last hour and might break your code.  Stick to the latest solid build that most people are using and keep it that way for a while.

Arduino: Part III: First Project Basics

Using the Arduino IDE — a quick skinny overview:

  1. I have an Arduino Uno, have attached it to my PC via USB port, and opened that IDE:
  2. In the IDE, I navigate to Tools –> Boards –> Select the version of the Arduino being used:
  3. The Arduino IDE comes with some very basic code examples (aka, sketches.):
  4. The bare minimum of a code example will contain a method for “setup()” and an action method for “loop()”
  5. A very basic sketch to test your board is the “Blink” example.  Open this example.
  6. In the top left corner of the application, click the checkmark icon to compile the code and if there are no errors you will see similar to the following:   
  7. Now you can upload the code to the Arduino by “Arrow” icon.  This is a common problem I run into where my Arduino is not registering on the proper port:
  8. avrdude: ser_open(): can’t open device “\.COM3”: The system cannot find the file specified.
    avrdude done.  Thank you.
    Problem uploading to board. 

  9. If you click on the “Magnifying glass” icon or navigate to Tools –>  Serial Monitor –> click to open an interface that shows communications to the Arduino.  In my scenario, the IDE is looking to “COM3” to find my Arduino.  If I open Windows Device Manager, I can see that it is registering on port “COM4”:
  10. To remedy this, I navigate back to the IDE, click Tools –> Ports –> and select “COM4” as my port.
  11. If you don’t have the above, or any other error, when you upload your code, you should see the following result and will notice that the Arduino now has the blinking light that you programmed.
avrdude: verifying …
avrdude: 928 bytes of flash verified
avrdude done.  Thank you.

Arduino: Part I: Introducing the Arduino

If you’re completely new, a starter kit is a good way to go.  They might seem expensive but actually can cost less than buying all the parts individually.  As a bonus, assure that either the starter kit includes some introductory lessons for you to walk through or that you have located some online.

Amazon usually has good deals on these kits.  Examples:

Otherwise, parts of a good kit might include:  an Arduino board, a breadboard, jumper wires, some LED lights, resistors, capacitors, diodes, random sensors, a servos to start.

Your PC (can be Windows, Mac, Linux) with a USB port. Software to run code.  Code?!  Don’t worry, you don’t have to be a programmer here.  Let’s review a process:

  1. Pull a plan together.  (even if it’s just going to instructables.com and turning on some LED lights)
  2. Gather your equipment.
  3. Turn on a computer that has a USB port.
  4. Get some software to interact with your Arduino.  Easiest is here
  5. Attach all wires and components per lesson diagram.
  6. Copy paste code from lesson into your software.
  7. Build the code and then push it to the Arduino and watch the results.

HEADS-UP!:

  1. GOTCHA #1:  The lessons.  Sometimes the lessons will have a big in the code or show a wire hooked up to the breadboard in a way that doesn’t work for you.   Google your project and error.  Someone has probably already been there and fixed that.
  2. GOTCHA #2:  Your wiring.  If there are no errors but something doesn’t work, check how you’ve set up your components.
  3. GOTCHA #3:  Uploading your code.  It’s probably going to happen:  some type of COM port error that will be called out by a process named “avrdude.”    I’ll try to remember to write  a post for that.
  4. GOTCHA #4:  Powering your project.  If you have too much power going to your Arduino, you can fry it.  To start, try to power your project via your USB port.  Most projects are 3.5V or 5V and batteries can work as well.  But, avoid wall power for a while.  

Arduino: Troubleshooting avrdude

My most hated error message:

1.  could not get com port recognized (saw as usb):   went into device manager and checked for “show hidden devices”
2.  code ran properly when nano attached to usb but did not work when not attached to usb:  the fix for this was to re-arrange some pins (27 vs 30?).  When using an external power source only (and not usb), then pins must be re-arranged.  
3.  bluetooth malfunctioning at times by going offline, robot only going in circles:  had tried 9V and 4 AA alkaline, ended up ordering Lithium Ion  18650 2600mAh flat top batteries